
You’ve chosen your system, paid the advance and fixed a date. What actually happens next? Here’s a typical home installation, step by step, so you know what to expect and what to check.
- Clear the roof and the inverter wall.
- Plan for a short power shutdown during final connection.
- Keep someone at home who can make decisions.
- Ask for the layout and string plan before work starts.
Before the day
- Clear the roof of junk, old dish antennas and anything near where panels go.
- Clear the wall or corner where the inverter and battery will be.
- Confirm the layout: where panels go, how many rows, and how cables will run.
- Arrange water and a place for the team to rest if it’s hot.
Step 1: Structure
The team marks positions, drills anchors into the slab or beams, and assembles the frame. For elevated structures, this can take most of the first day. Ask how roof holes will be sealed against leaks.
Step 2: Panels
Panels are carried up, carefully, and clamped to the rails. Watch that no one walks on them and that clamps are the right type. Panels are then connected into strings according to the plan.
Step 3: Cabling
DC cables run from the panels to the inverter, ideally in conduit or trunking. A DC breaker or isolator and an SPD go in a DC box near the inverter.
Step 4: Inverter and battery
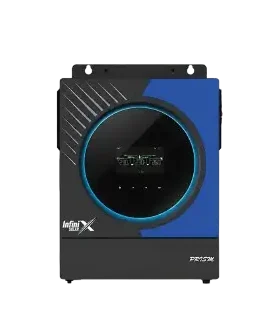
The inverter is mounted with proper clearance. The battery is placed nearby and connected with thick, short cables and a fuse or breaker. See where to install the inverter.
Step 5: Earthing
An earth pit is dug and the frame, inverter and SPDs are bonded to it. This step should never be skipped. See earthing and lightning protection.
Step 6: AC connection
The inverter output is connected to your distribution board. This usually needs a short power shutdown.
Step 7: Testing and handover
- String voltages checked before connecting to the inverter.
- Inverter settings configured for your battery type and mode.
- WiFi monitoring app set up on your phone.
- A walkthrough: how to switch off safely, what the screen means, who to call.
How long it takes
A typical home system takes one to three days, depending on the structure and system size. Large elevated structures and big commercial systems take longer.
Before the team leaves
Take photos of the DC box, earthing connection, inverter and panel labels. Keep the invoice, warranty cards and serial numbers together. You’ll thank yourself later.
Getting ready for installation?
Send us your layout or quote. We’ll tell you what to check on the day.